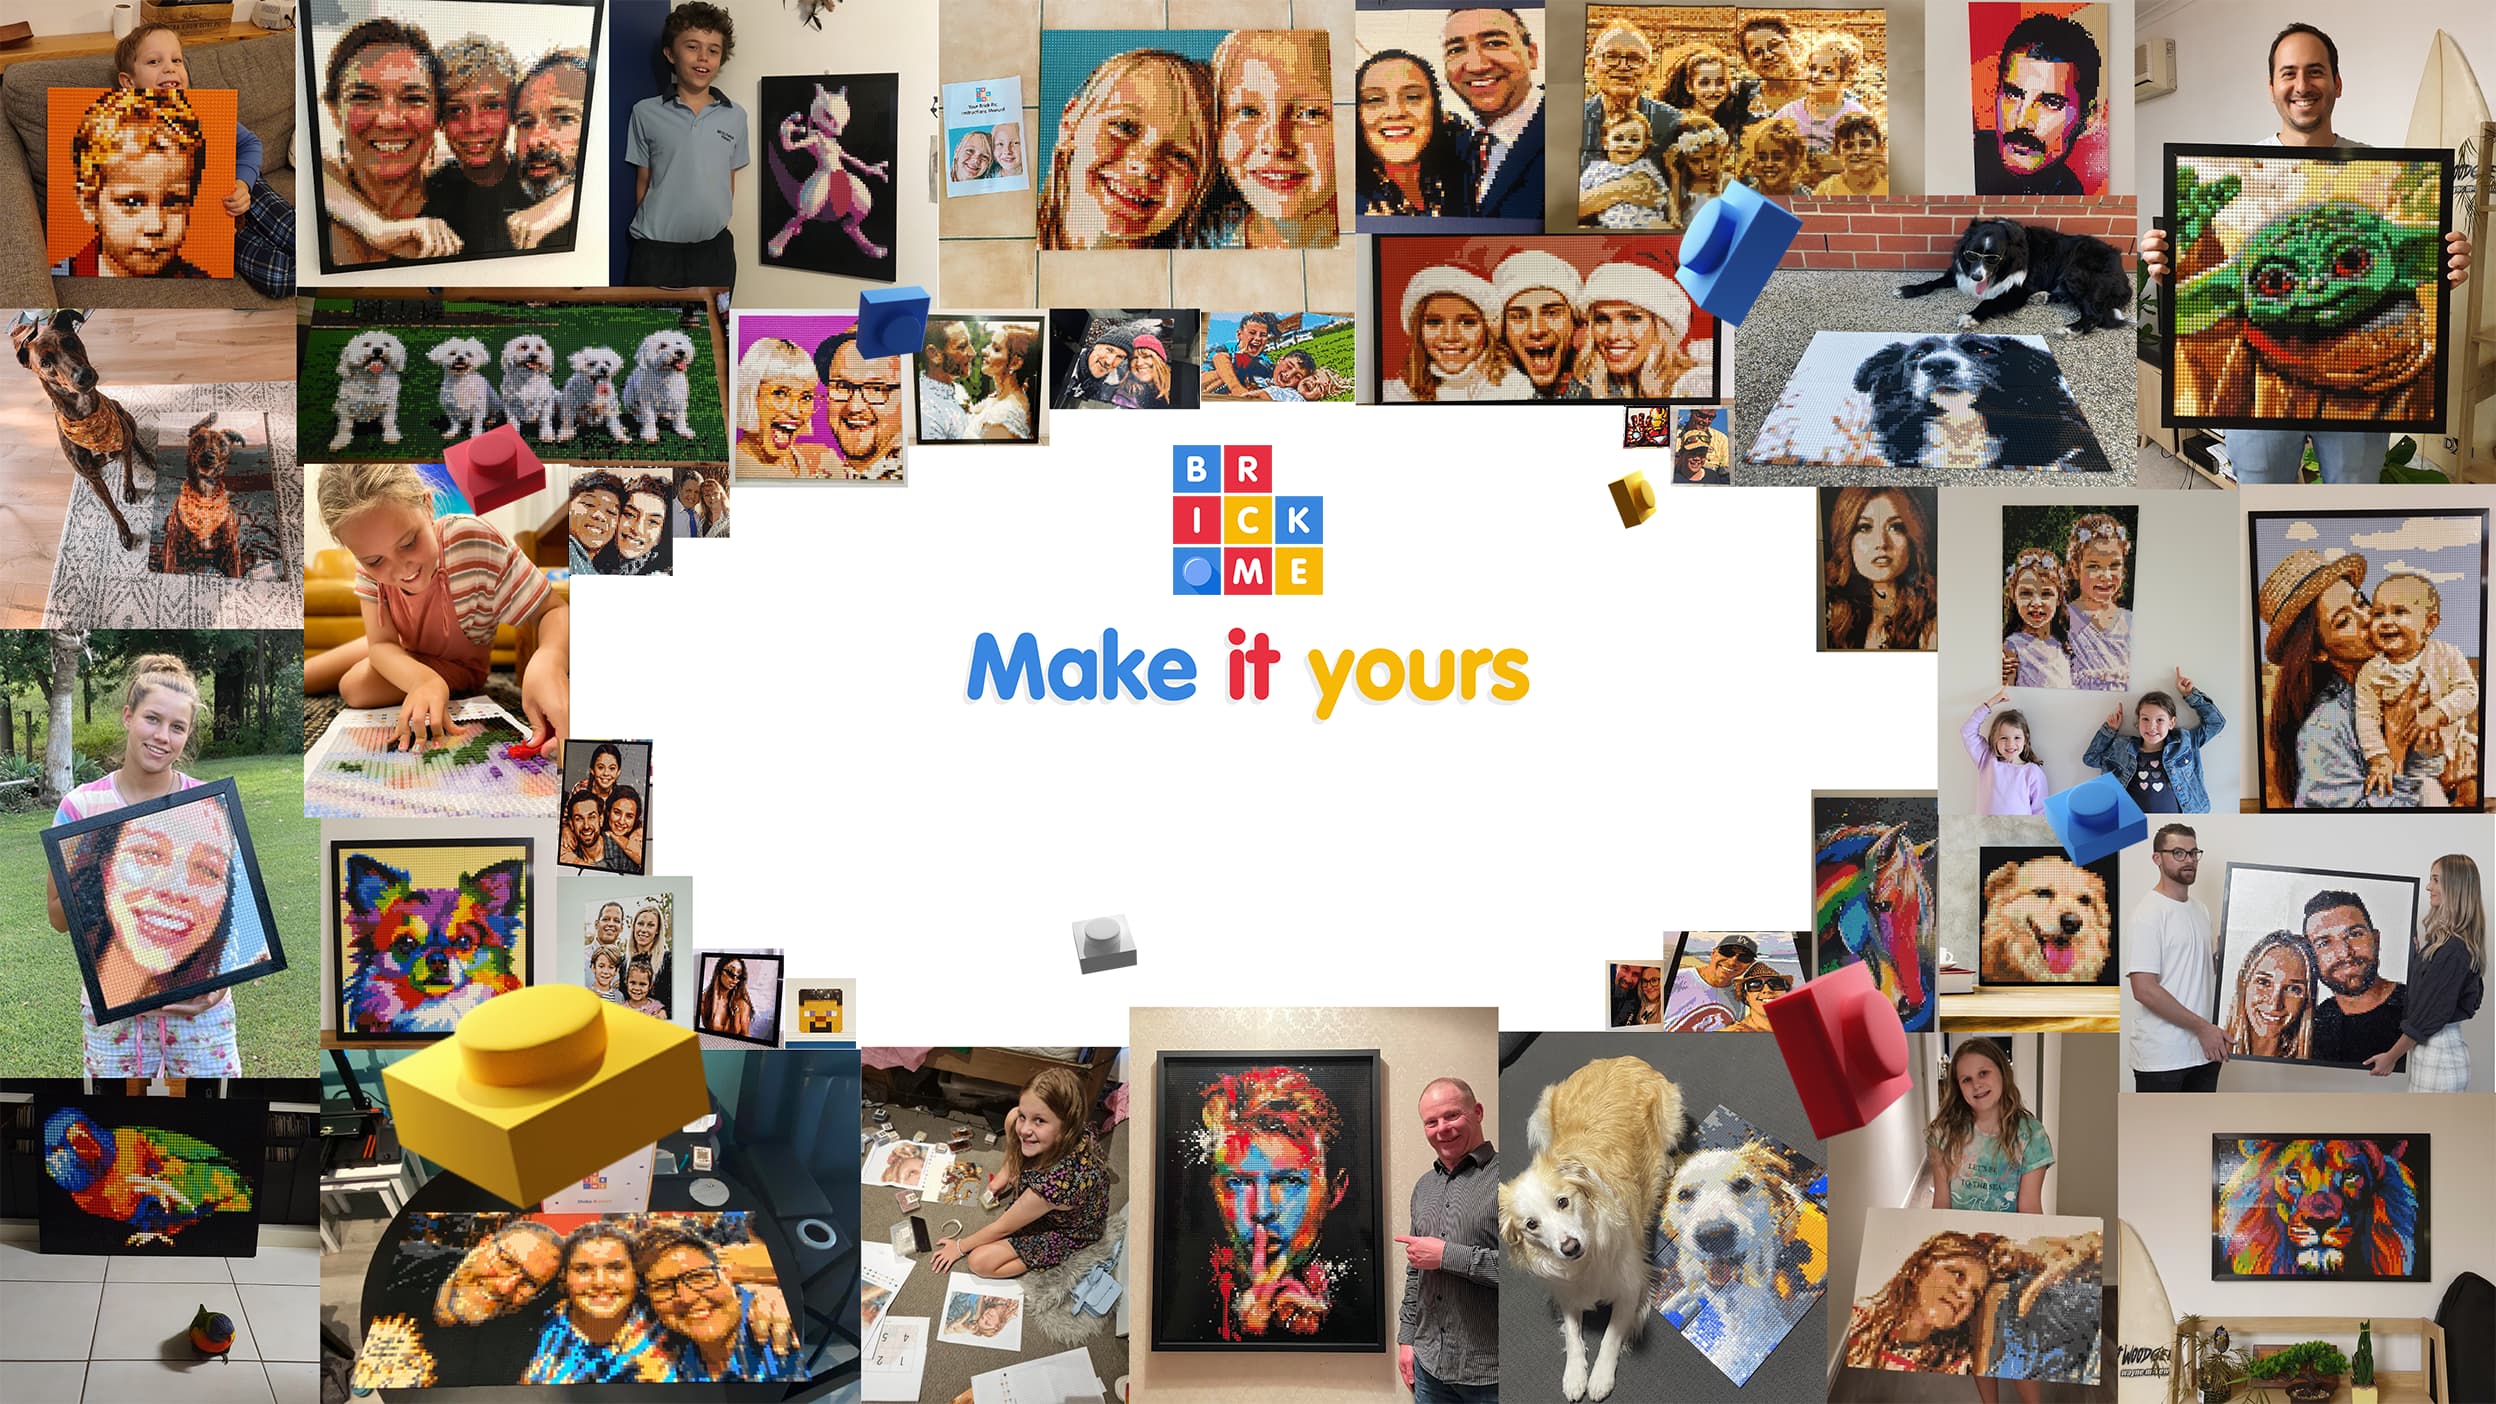
So you want to create a brick mosaic, but don’t know which photo to choose? We got you.
While choosing may be hard, some photos work better than others when you turn them into a brick mosaic. Here are 5 tips for the best pics to brick!
Oh, by the way, these tips mostly refer to photos you’d normally find in your phone’s camera roll. You can of course use any other picture you like, for example your favourite singer, athlete, or cartoon character, as long as you adhere to our terms of use.
1. Avoid bad Lighting
Different light sources can change the colours in a photo. For example, a blue light source (like from a computer screen), can make the subject’s skin appear bluish. Make sure the picture has natural light for natural colours.
|
|
|


2. Faces + shadows = bad
Shadows, especially on faces (like a shadow from a hat), don’t translate well in Brick Pics. Try to use images in which faces appear clear of shadows when possible.
|
|
|


3. Prefer background that contrast with the subject
We have 50 different brick colours in our palette, which is a good amount to have, but still not close to the millions of colours in a digital photo. Sometimes different areas of the image, like the subject and the background, can “mix” if they use the same colours. For example, a subject’s brown hair can “mix” with a brown background.


4. More detail in the photo means you need a larger brick mosaic
The size of your brick mosaic determines its resolution (more bricks = more pixels). If you try to fit an image with lots of detail (for example: many people) in a small Brick Pic, the result can look very pixelated and not clear. You can either try a larger size mosaic, or choose an image with less detail.
|
|
|


5. For multiple subjects, it’s better if their faces are close together
This is similar to the last point about level of detail. To increase clarity, it’s good to try to “zoom in” on the subjects’ faces as much as possible. Try to choose photos in which everyone’s faces are close together. This way, each face gets more bricks, which means more pixels, which means higher quality!
|
|
|


6. What about photos of scenery? It depends.
When we pixelate an image and turn it into a Brick Pic, we lose some detail in the process. Human faces work very well because our brains are exceptionally good at recognising faces, even if they are somewhat pixelated. With things like scenery photos however, it might be hard to recognise what you’re looking at. You still can get fairly good results if you go for images with things that are very recognisable, like a single house on a hill, or a palm tree on a beach.
|
|
|


7. Bonus tip: Pets!
The obvious choice for a Brick Pic model. If you have a pet, your phone’s camera roll is undoubtedly full of their photos in different positions, angles, and backgrounds. Let us try and help you sort the wheat from the chaff.
What we need is a photo that is recognisable even when pixelated. So although your pooch looks adorable rolling in the grass with one ear squished behind its head, you’d probably get better results from a frontal picture that’s easy to recognise. An open mouth with the tongue out also works well and looks super cute!
|
|
|